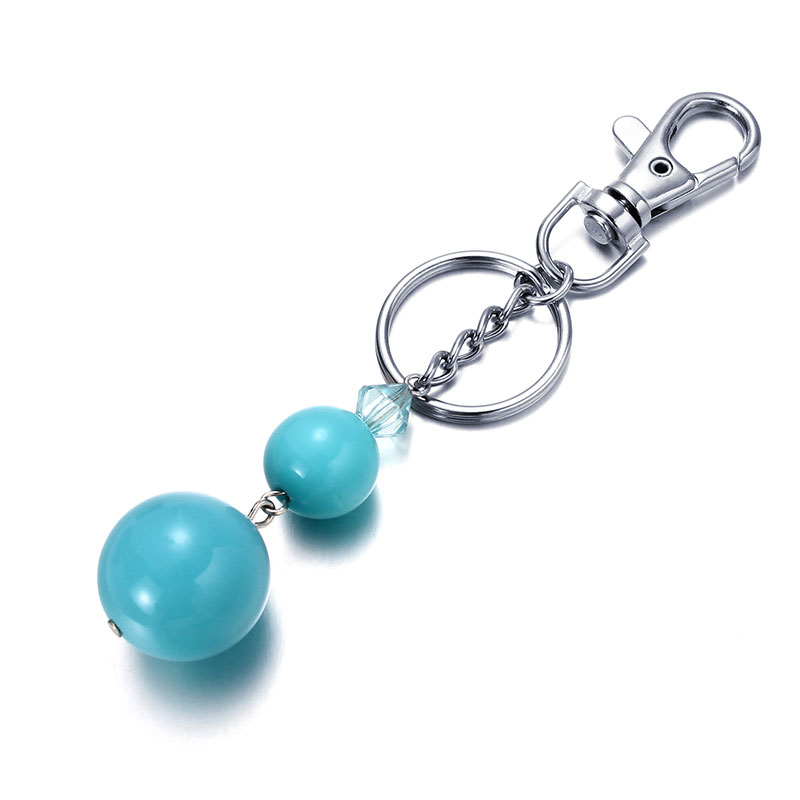
I’ve always had a thing for great keychains! Whether of the souvenir variety that a loved one brings home from their latest excursion or a handmade token, I think they’re such a great way to jazz up the everyday accessory that is your key ring. How to make a keychain? So today I’m sharing fun make a keychain to add a little fun fashion to your keys so you can drive (and lock the front door) in style!
Make a keychain
1.Gather your materials.Making a clay keychain requires mold-and-bake clay (also known as polymer clay), a small cookie cutter, a large needle or toothpick, and a split ring or keychain assembly.
2.Roll a small piece of the mold-and-bake clay to a thickness of about 1⁄8 inch (0.3 cm), using a rolling pin or other rolling tool (you may even be able to use a pen or pencil). The clay should come out smooth and the thickness should be uniform throughout.
3.Use a cookie cutter to cut the clay into the desired shape. Choose the shape of your choice, such as a flower for Mother’s Day, a clover for St. Patrick’s Day, a heart for Valentine’s Day. Sports fans will enjoy a keychain shaped like a basketball, baseball or football.
4.Create a hole approximately 1⁄4 inch (0.6 cm) from the top of the shape, using a sharp object such as a needle or toothpick.
5.Place the clay shape on a baking sheet and bake according to the directions on the package.
6.Attach your slip ring or keychain assembly to the cooled shape. Be careful not to be too rough when connecting the two pieces together, as it could break your beautiful new keychain.

